Planting a container filled with foliage and blooms is so much fun, but you might wonder what goes into creating the beautiful container combinations you see around the community. Why does one arrangement grab your attention while others fall flat? And what keeps a crowded bunch of unrelated plants beautifully blooming all summer?
It’s not as complicated as you might think – in fact, the simpler the design, the more successful and satisfying your container will be. Here we share the three keys to a fantastic container arrangement – one that brings maximum enjoyment with minimum fuss to your front step or patio this summer.
If you’re a plant, life in a planter can be crowded, and competition is fierce. So, whatever we can do from the start to make life easier on our container plants, the happier – and more beautiful – they’ll be throughout the season.
The Container
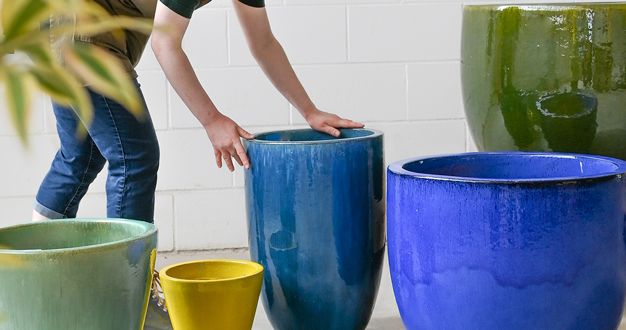
All kinds of creative vessels can serve as outdoor planters, but whatever you use should be large enough to provide adequate root space for all the plants in the design. A typical container combination may include seven or more individual plants, which will do better in a container that’s at least fifteen inches in diameter. Larger containers like these are also easier for you to take care of in the summer because they won’t dry out as quickly as smaller planters. And be sure that any container you use has holes in the bottom to allow excess water to drain away from the root system.
The Potting Mix
Choosing the right soil for your container garden is crucial to its success. A professional potting mix formulated for containers is a must. These soil-less mixes stay airy whether wet or dry, and they hold just the right amount of moisture while letting excess water drain away easily. Together, these qualities provide the best possible environment for the development of healthy roots in containers.
Location
It’s important to remember that because all the plants in your container live together in one spot, they need to agree on how much sun they like. Be sure the plants you choose for your design all prefer either full sun (six or more hours of direct sunshine), part-sun (four to six hours), or shade (four or less).
Ongoing Care
Blooming annuals need plenty of nutrition to stay in peak performance – especially when sharing space in a container. So, be sure to give your container combo a regular helping of fertilizer throughout the season. Water when the top of the potting mix is beginning to dry a little. Then water enough so that the moisture reaches all the way down to the bottom of the planter. Watch for insect pests along the way, and if they become a nuisance, choose a pollinator-friendly control method before they get out of hand.
With so many amazing plants to love, choosing a combination of plants for a container can be a little overwhelming. The good news is simpler designs often lead to happier plants – and therefore, happier people.
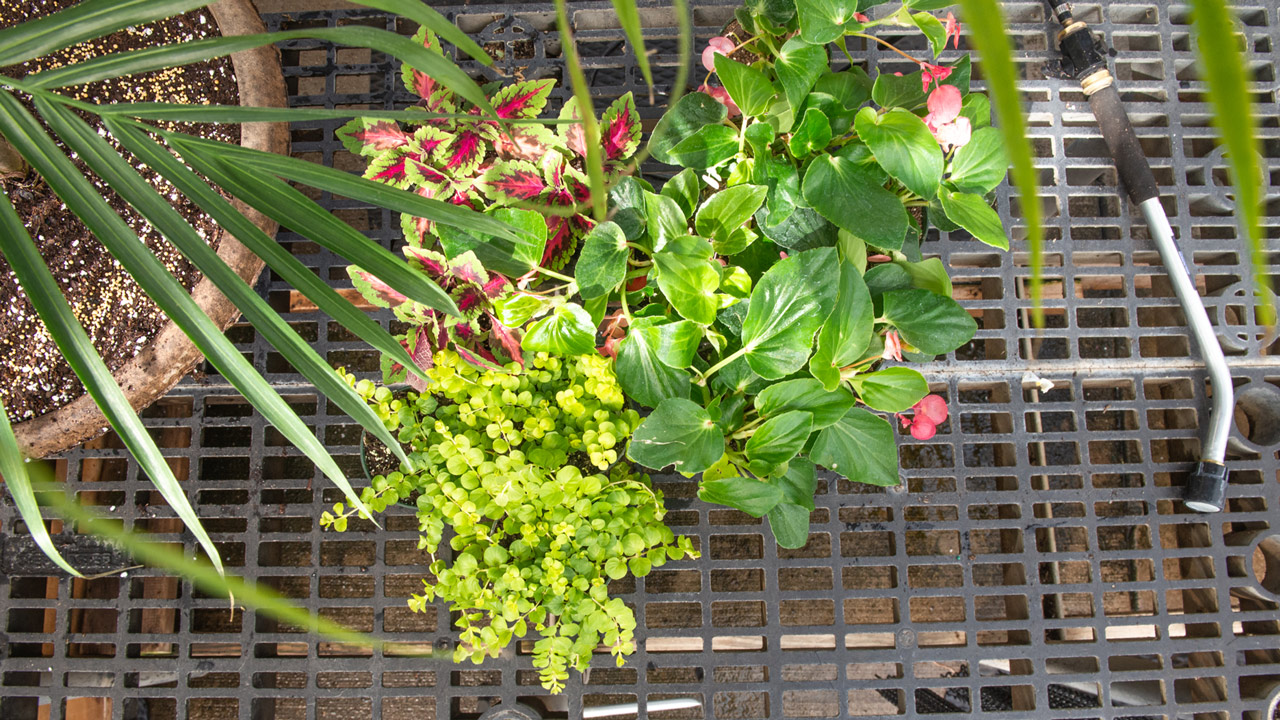
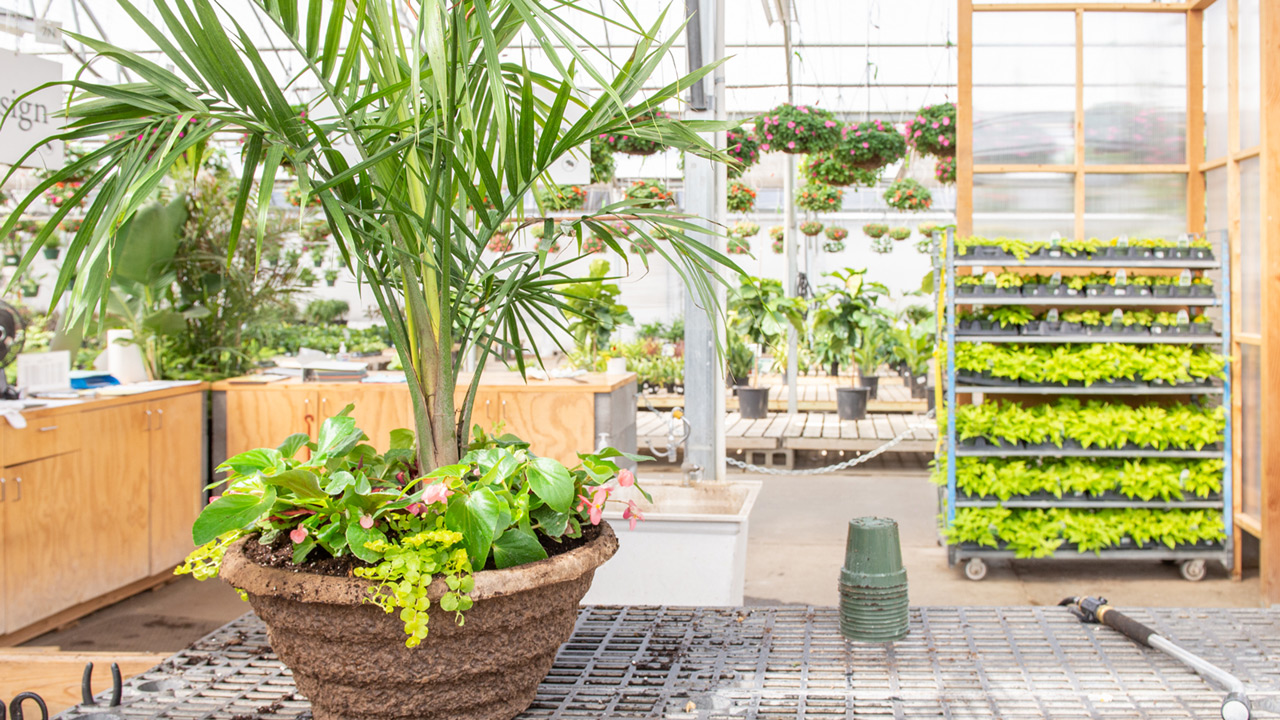
Design in Three Layers
A beautiful container design is as easy as choosing plants in three visual layers. Look for something tall for the center, something blooming in the middle, and something trailing over the side. Depending on the size and location of your container, the tall center might be a ravenea palm, purple fountain grass, tropical hibiscus, or colorful croton. The bloomers in the middle might include begonias, geraniums, impatiens, or lantana. And the trailer could be lysimachia, torenia, calibrachoa, or a tumbling ivy.
And how tall should the center plant be? In the classic ratio, the entire design from the ground to the top of the tallest plant is usually two-thirds plant material above and one-third container below. So, if your container is about two feet tall, then the entire design – plants plus container – should be about six feet tall. There are many creative reasons to break this “rule,” but it’s a good place to start.
Stick with Fewer Varieties
It’s tempting to include all of your favorite plants in one design. But if you want your combination to be attention-grabbing – and easier to maintain too – it’s better to stick with just a few varieties in one design. For instance, in a classic doorstep planter, you might find a tropical croton in the center surrounded by three orange Sunpatiens® and three lime green lysimachia trailing over the side. That’s seven individual plants, but it’s only three varieties creating three distinct blocks of color, and therefore a stronger visual impact. Having fewer “personalities” in the container also reduces competition between the different types of plants, which creates a healthier, longer-lasting, and lower-maintenance combination for you to enjoy too.
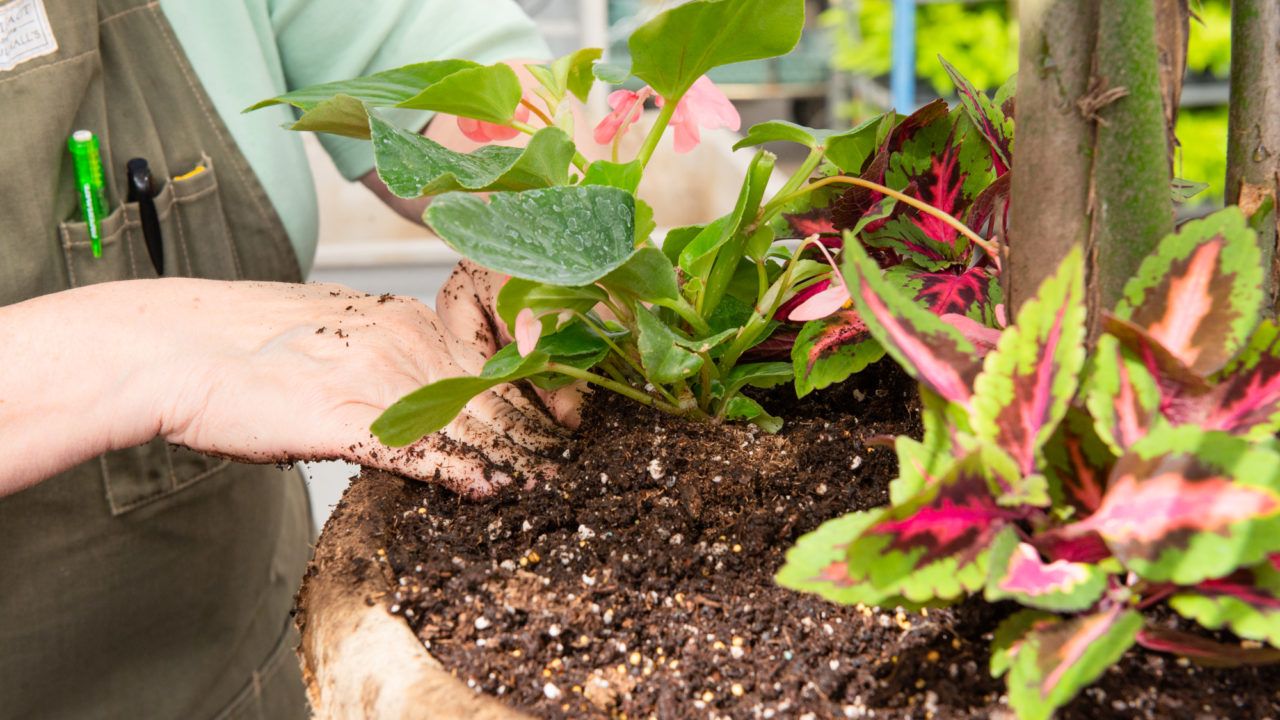
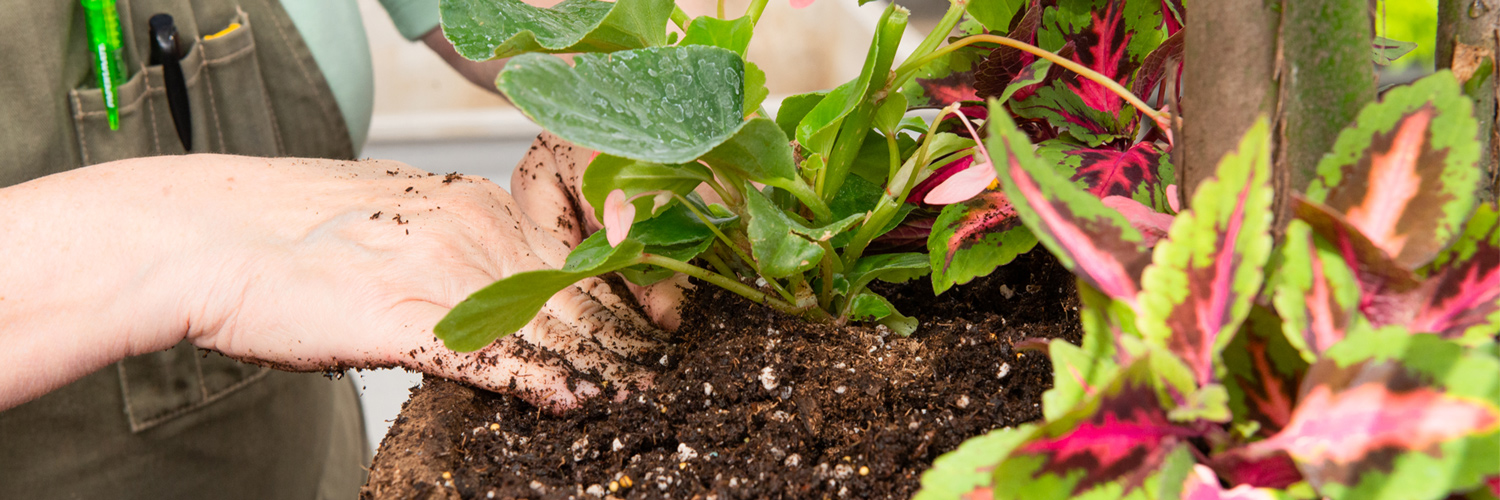
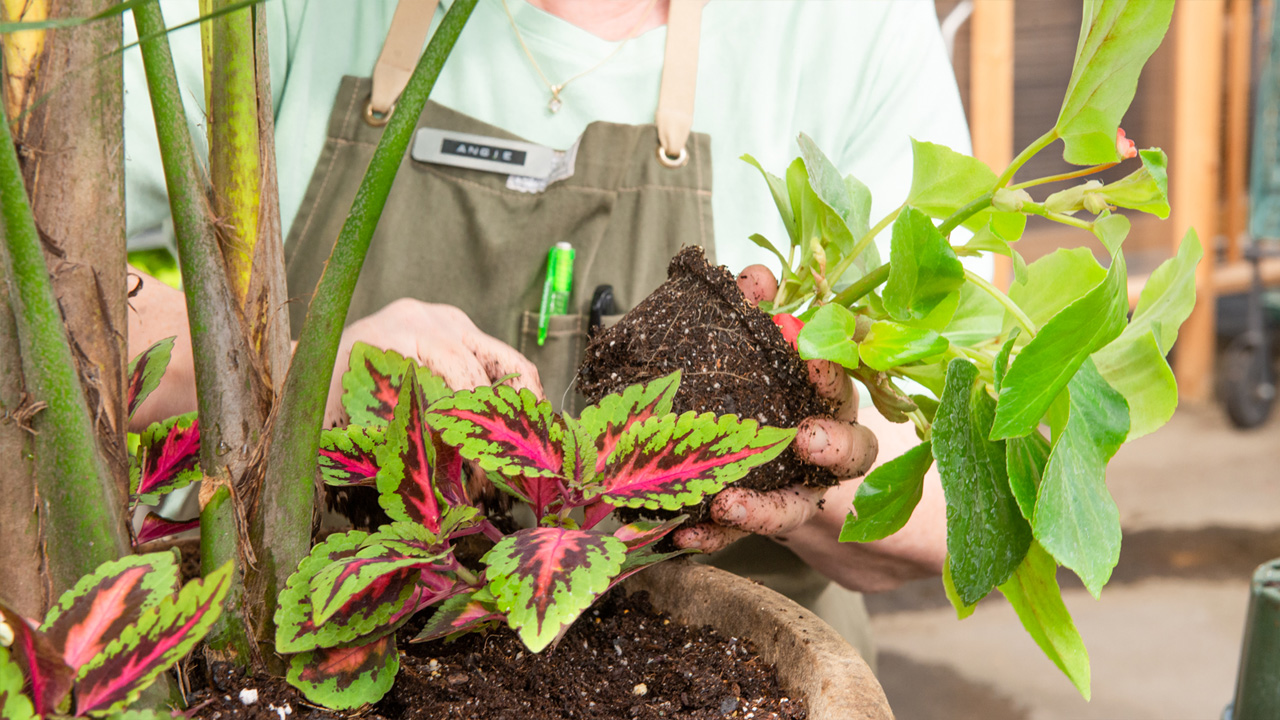
Once you have the design and plants selected, it’s time to get them in the planter, and careful attention to planting technique now helps lead to satisfying results later on.
Container gardens are some of the most exciting and rewarding parts of spring planting. If you’re not sure how to start, just remember to keep your design simple – and your potting mix professional. Then you’re all set. And when you visit us in the Greenhouse, don’t hesitate to ask for tips. We’ll point you in the right direction and help you create a beautiful planter full of foliage and blooms that you’ll love all summer long.