Starting seeds indoors is a rewarding and cost-effective way to get a jump-start on your spring garden while it’s still too cold to plant outside. Getting started is easy too. Here we share some essential supplies and tips to help you nurture a thriving indoor garden that will reap big benefits at harvest time.
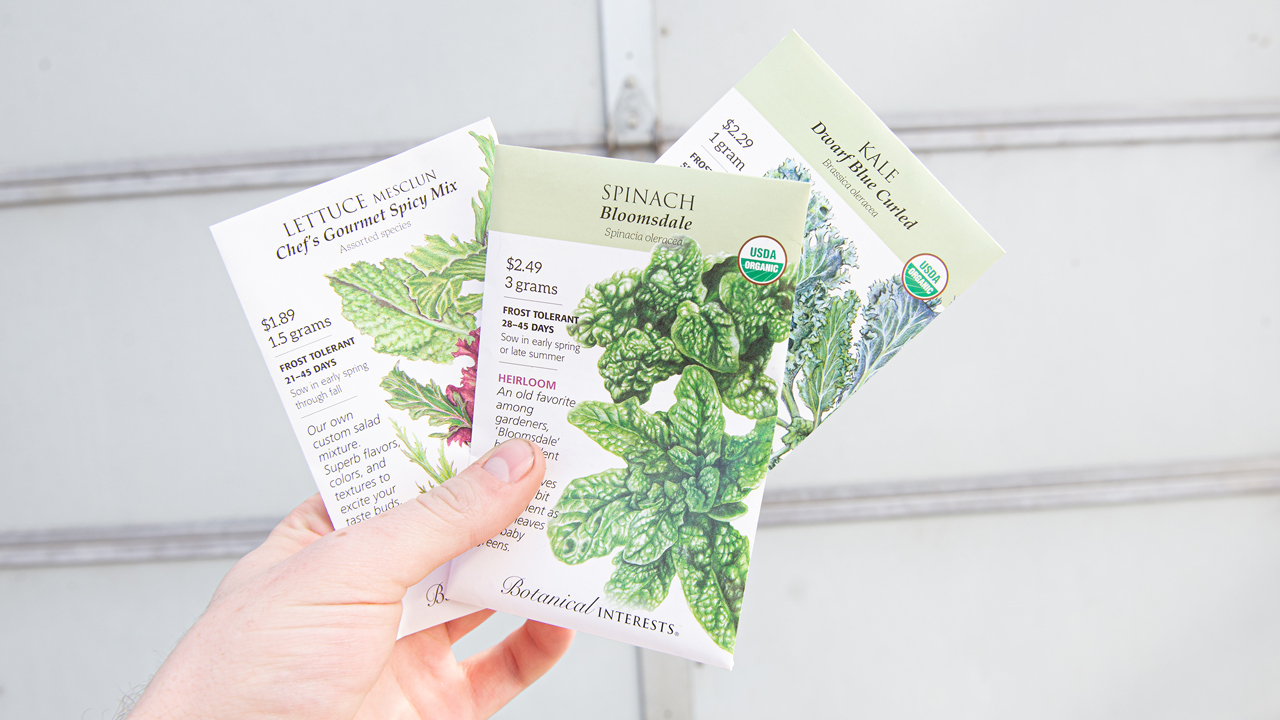
Start by making a list of the seeds you want to grow, considering the most popular herbs and vegetables in your household or the favorites that are hardest to find at the store. You might also think about the flowers you love but haven’t found as started plants in the spring.
Then compare the list to your garden space and outdoor containers, and sketch a plan for where everything will go once it’s warm enough outside. Don’t be afraid to keep it simple if it’s your first time starting seeds indoors. You might start with a few easy varieties like marigolds, tomatoes, kale, or basil. After you’ve gained a little experience, you can always expand your list for next year.
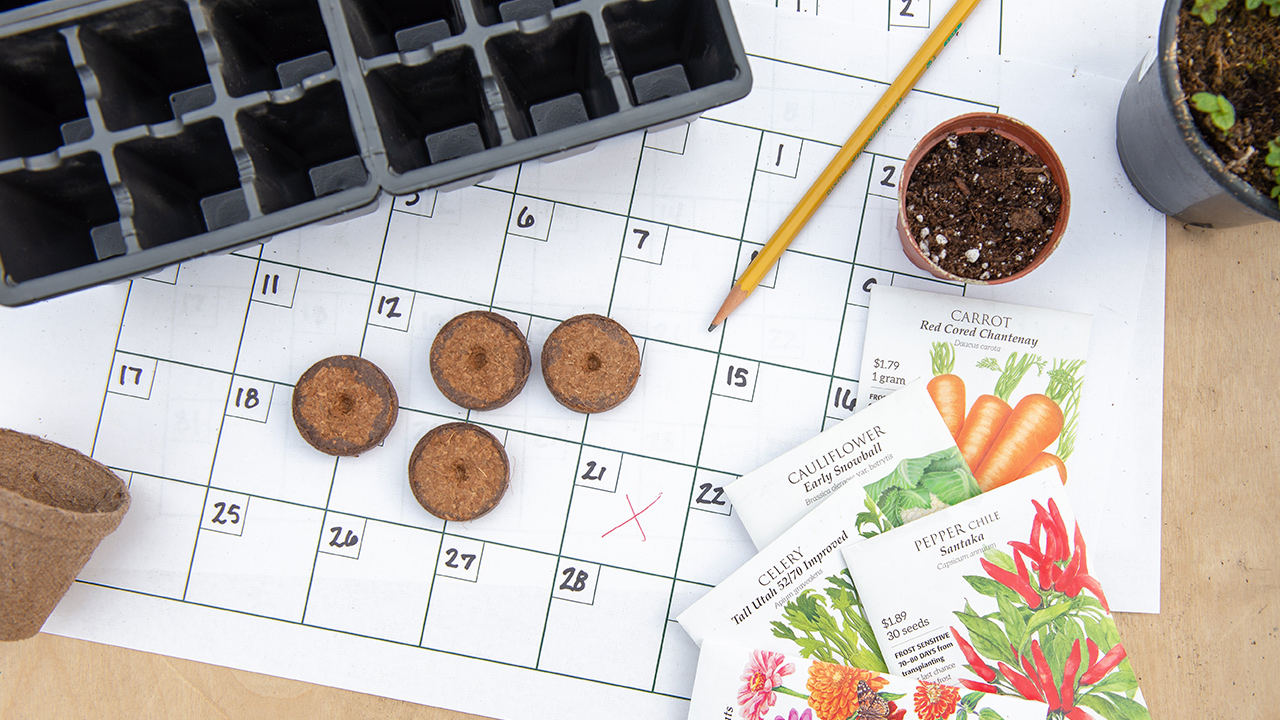
Some seeds take longer than others to reach a safe size for transplanting, so you might start as early as February for some seeds and as late as April or May for others. Look on the seed packet to find the amount of time needed for germination and growth before transplanting outside. Then, counting back on the calendar from the average last frost date in your area – around May 15th here in Omaha – you can figure out when to start each type of seed.
On the seed packet, you might also find that some seeds are better sown directly outside instead – root vegetables, green beans, and peas are some examples. A seed-starting calendar is another helpful guide for this stage in your project.
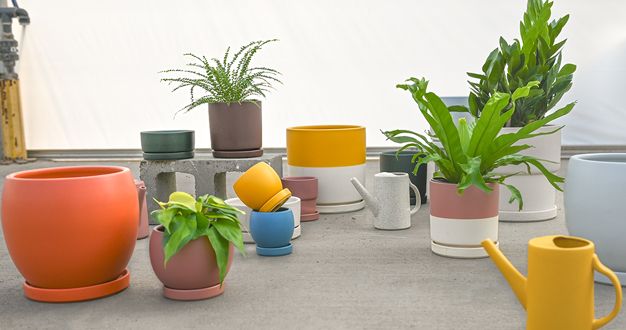
Like all plants, seedlings need a container, soil, light, and water to thrive. Here are some of the essentials you’ll need to get started.
New seedlings grow best in clean, shallow containers with excellent drainage. A few good options include:
Anytime you reuse a container for seed-starting, just be sure to clean it thoroughly and sanitize it in a 10% bleach solution before planting your seeds. This step eliminates any harmful bacterial or plant viruses that might remain.
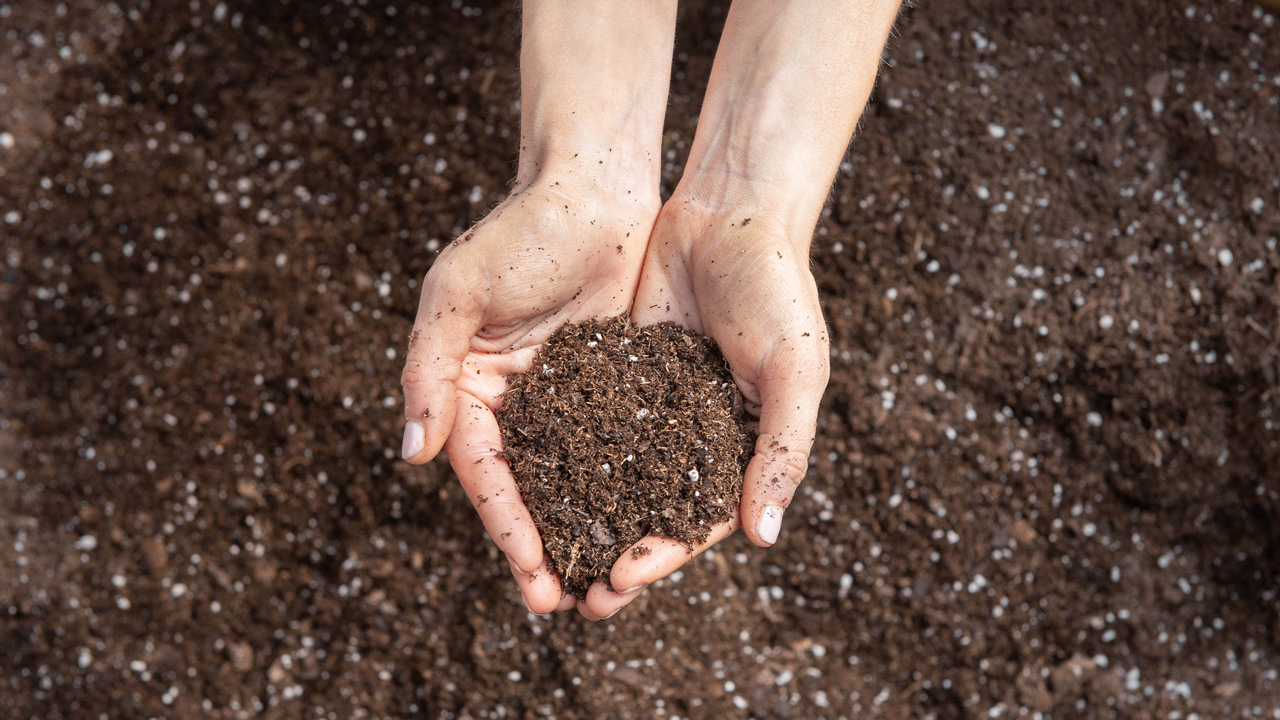
For baby roots, the best soil is light, airy, fast-draining, and holds just the right amount of moisture too – and a professional potting mix designed for seed-starting meets all these requirements. A potting mix for houseplants is another good alternative, as are compressed peat pellets that expand when soaked in water.
New seedlings need plenty of light for strong growth. A south window with a clear view gives the most direct indoor light, but for most homes, supplemental light will give better results.
For additional light, you might try a standard shop light ballast-fitted with a full-spectrum plant grow light. You’ll want to position it just a couple inches above your sprouted seedlings and raise it higher as your plants grow taller. Keep the light on at least twelve hours a day – fourteen to sixteen is even better. Using an outlet timer is a good way to manage your lighting schedule.
Now, it’s time to plant! Start by filling the containers with potting mix and gently add just enough water to moisten the soil but not saturate it. Then, add your seeds, including a few extras in each container or planting cell in case some fail to sprout. The general rule is to plant a seed two to three times as deep as its width – but always check the seed packet to be sure of the best planting depth. While you wait for your seeds to germinate, just keep them in a warm, well-lit space.
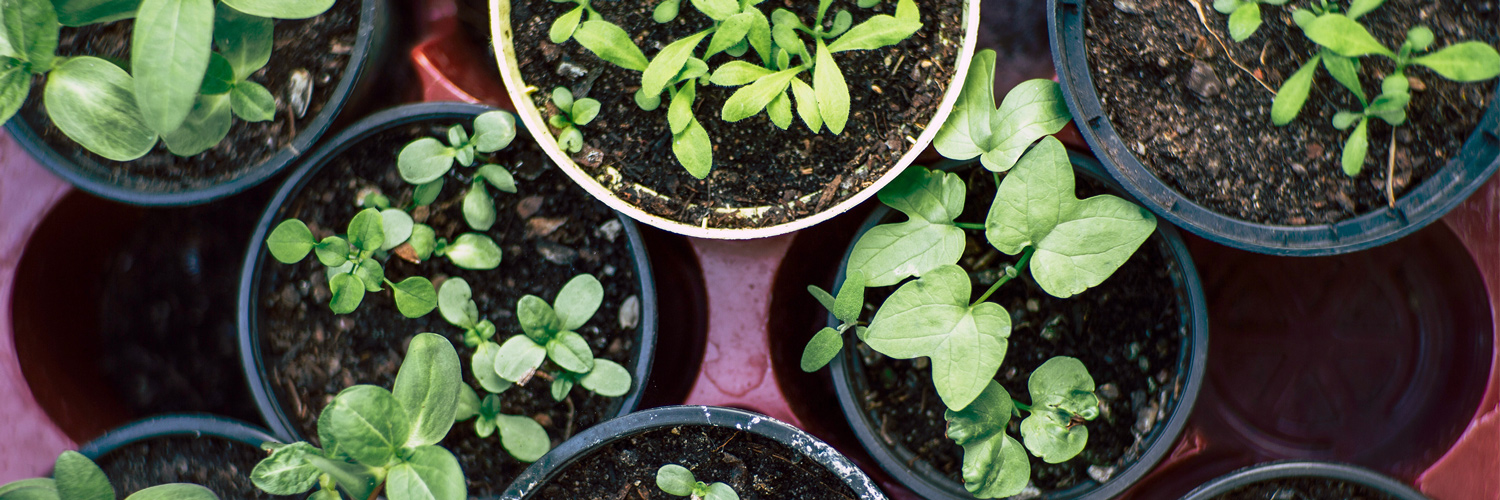
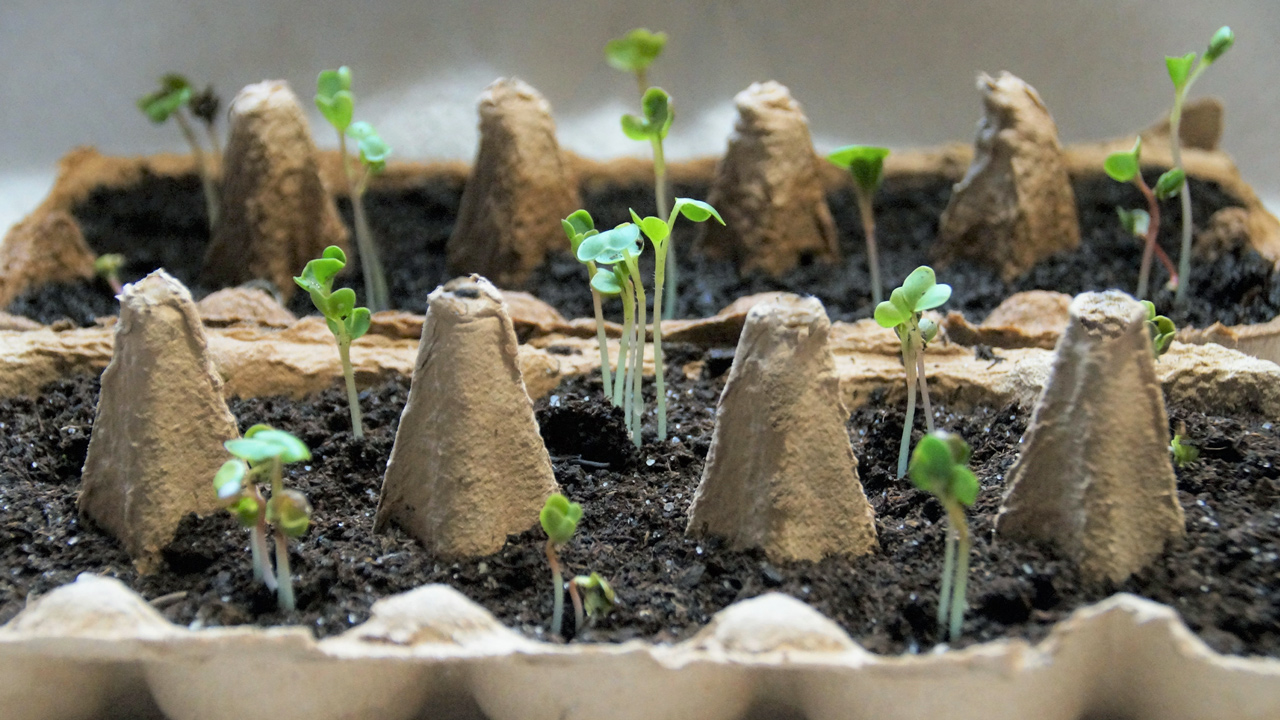
Once the seedlings appear, it’s time to move the containers to their permanent location under the light source. As they grow, water very gently to keep the soil consistently moistened, but not saturated, and make sure the containers drain well.
The first pair of “leaves” that grow are the cotyledons – green growth that offers initial nutrients from the seed. But once the second and third set of true leaves appear, your seedlings will benefit from a regular organic fertilizer given at half strength.
![]()
![]()
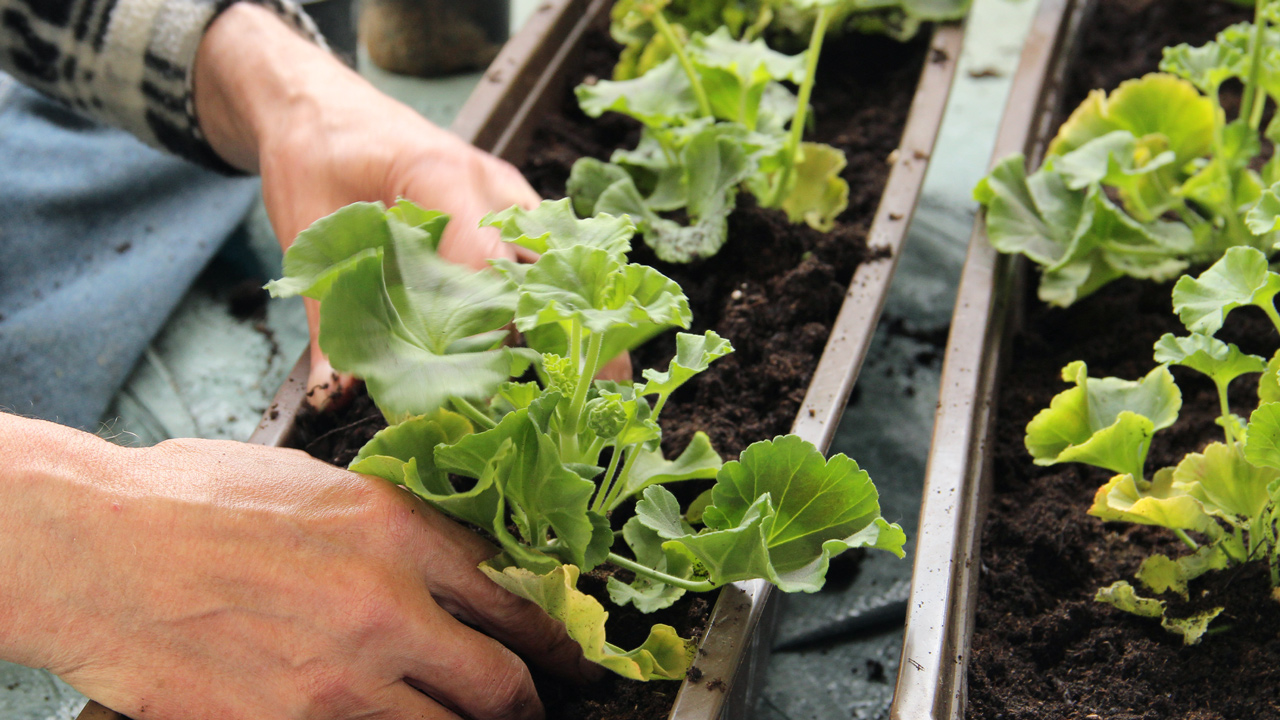
Once the seedlings have two or three pairs of true leaves, thin them to one seedling per container or planting cell and transplant them to slightly larger containers if needed.
Continue to nurture your new garden until there’s no longer a threat of frost and the weather and soil are warm enough to transplant outside. Here in Omaha, that’s usually around mid-May.
Seed-starting is a fun way to get your spring garden growing while you wait for the planting season to officially begin. We’d love to help you find the right supplies, answer your questions, and offer our experience too. Just stop by the Greenhouse. We’re excited to help you get started.