
Decorating a Christmas tree is one of the most cherished traditions of the holiday season. Those lovely branches covered with twinkling lights, colorful ornaments, and precious family heirlooms create a warm and memorable centerpiece for gatherings with friends and family. Creating a stunningly beautiful tree may look a bit complicated, but floral designer Rhonda Hanson has a design process that makes it simpler. And as part of our DIY demonstration series, Rhonda will share that process in our upcoming session, Tree-Decorating.

Once the initial elements are in place, Rhonda might choose stems of bright red berries, iced branches, or maybe garland to add another layer of texture to the tree.
When Rhonda decorates a tree, her first step is to decide a theme. Whether they’re real or lifelike, Christmas trees can reflect any number of styles such as traditional, elegant, woodsy, or whimsical. Regardless of the style you choose to create, the elements should all reflect that theme for a more cohesive and attractive design. In our Home Décor area, our decorated trees include over a dozen themes like the nostalgic Farmhouse, the wintery Iced Pinecone, the nature-inspired Lodge and Aviary, and the joyful Bright Bohemian. Around each tree, you’ll find the same elements Rhonda and our team used to create each theme – and each is filled with ideas for putting together your own theme too.
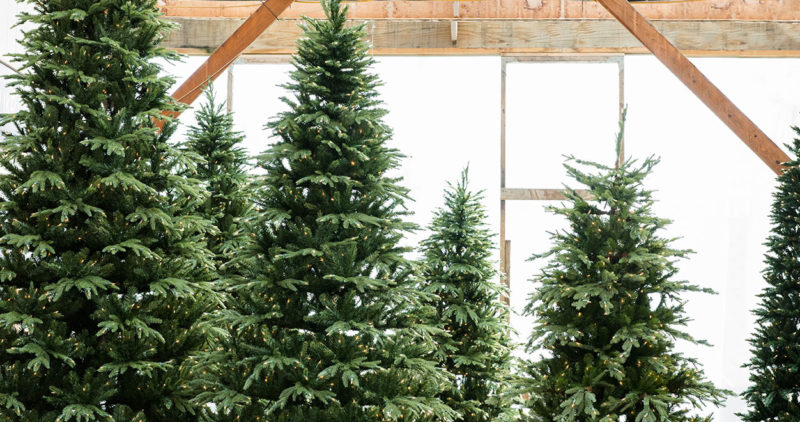
For the decorating process itself, Rhonda likes to work in layers, working with one décor element at a time and finishing with it before she moves to the next one. This ensures a balanced tree with no uneven areas or empty spots. To start, Rhonda typically picks several stems of a lifelike floral, evergreen, or leafy branch and spaces the stems evenly around the tree. This element – which she calls a ‘filler’ – adds natural texture and visual interest to the branches. This step also extends the tree’s outward branching, adding realistic dimension to the overall shape. Once the initial elements are in place, Rhonda might choose stems of bright red berries, iced branches, or maybe garland – depending on what works with the theme. And like the first stems, she spaces them evenly across the tree to add another layer of texture. When these two steps are completed, Rhonda takes a step back and looks it over. Already, it’s a beautiful tree, but this is just the foundation for the rest of the design.
The next step is to pick a more focal element. It’s usually something bigger – like a lifelike poinsettia bloom or a large ball ornament – that can be repeated and evenly spaced around the tree. Rhonda typically tucks these larger items further in between the branches, so they sit on a different visual plane than the smaller ornaments, which come later. Like the filler branches, this adds dimension to the display. Depending on the theme, Rhonda might select a ribbon to weave in and out of the branches too. Then, finally come the smaller details – the traditional ball ornaments, birds, pinecones, deer, stars, or snowflakes – that make each tree unique and special. And of course, if your collection includes those treasured family ornaments from years past – heirlooms and childhood projects alike – don’t be afraid to include them too. Backed by the unifying theme of the earlier layers, they’ll find their place, and everything will tie together beautifully.
Describing her process is one thing, but seeing it in action is another. On Saturday, November 25th, at 10am and 2pm, Rhonda will share even more design ideas and expert techniques as she transforms a bare tree into a stunning Christmas centerpiece. And she’ll demonstrate not just once but three times – in three different themes – so you’re sure to find new tips and inspirations for your own Christmas tree traditions.